Part 20: Midway: June 6, 1942 (morning)
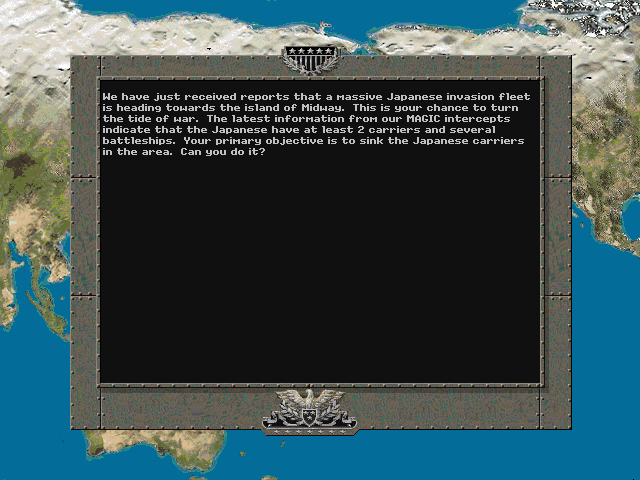
Since the Japanese made a surprise attack on Pearl Harbor, and other American territories all around the Pacific, we've been pushed back almost everywhere. Only now have we managed to finally muster our forces to face them on an equal footing. And it's possible that now, when they likely don't suspect us of resisting them so strongly, that we'll be able to score a major victory.
Midway
June 6, 1942
It becomes apparent why the game recommends beginning with the Japanese campaign first. The American campaign starts with zero land objectives (and also zero land units for the core). What we have to do is destroy enough enemy ships to win, while also avoiding losses on our own side. There is no margin of error or chance of recovery, since the battle is surprisingly short. The difficulty is further skewed by spotting the Japanese a goodly number of points. As I've mentioned already, it took me three tries to get a positive result here, and doing so is necessarily simply to get the campaign off the ground. This ends up making the historical outcome barely a 'draw', and you have to do better (mostly by avoiding losses) in order to progress in the campaign. I'm getting this little rant out of the way now because in order to win this one I have to take advantage of knowing the initial positions and how the AI moves.
Starting VP: 0 - 356 (Loss)
OOB
pre:
Unit Name                   Unit Type [Transport]         Exp

Land Units

Aux (by qty)
2                            5" Coastal Battery              -

Air Units

7th F4F Wildcat              F4F Wildcat                     -
8th F4F Wildcat              F4F Wildcat                     -
9th F4F Wildcat              F4F Wildcat                     -
10th SBD Dauntless           SBD Dauntless                   -
11th TBD Devastator          TBD Devastator                  -


Aux (by qty)
4                            F4F Wildcat                     -
2                            USMC F4F Wildcat                -
2                            P-40 Warhawk                    -
2                            Grumman FF-1                    -
2                            SBD Dauntless                    -
2                            TBD Devastator                  -
2                            Catalina PBY                    -
1                            B-26C Marauder                  -
1                            B-17F FF                        -

Naval units

DESRON 1                     Somers                          -
New Orleans                  New Orleans                     -
Northampton                  Northampton                     -
Yorktown                     Yorktown                        -
Atlanta                      Atlanta                         -
Gato                         Gato                            -

Aux

DESRON 2                     Sims                            -
DESRON 3                     Sims                            -
Enterprise                   Yorktown                        -
Hornet                       Yorktown                        -
Astoria                      Atlanta                         -
Staring Prestige: 100
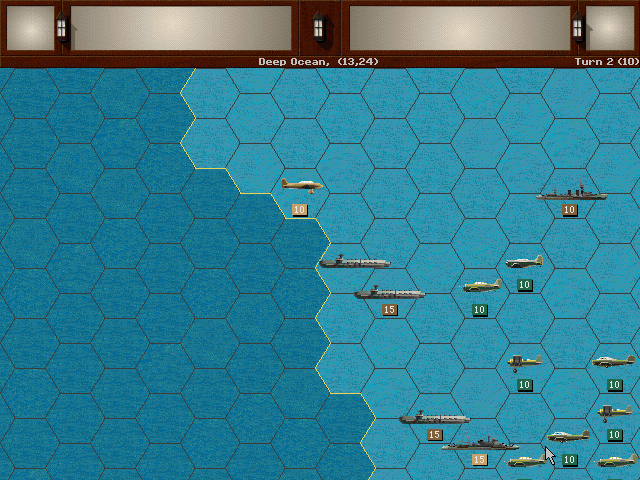
(Note: Units have not been marked on the map, since they're fairly spread out at the start. The core is roughly where the map shows, and the planes are in other locations but will be sorted out in a few turns.)
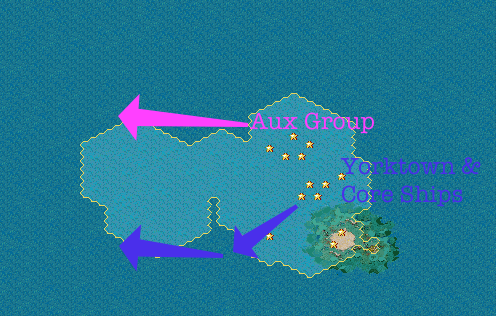
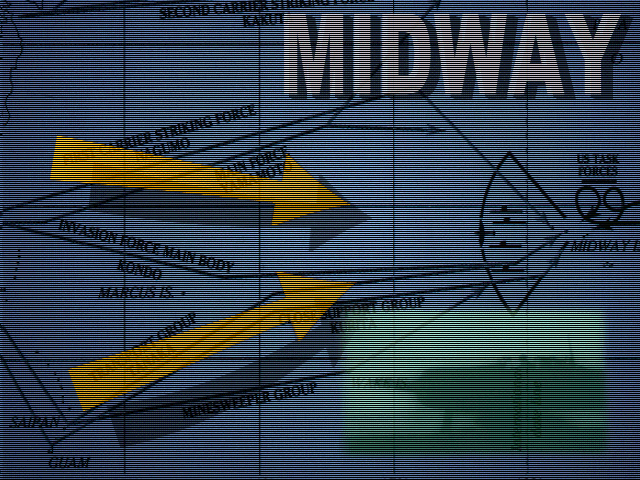
We know the Japanese are heading toward Midway from the west or northwest. The core carrier (Yorktown) will keep close to the island itself while heading southward. Then we'll head west to mostly act as support for raids and to intercept any enemy planes that head south. The two other carriers will mostly stay to the north, and lead the primary strikes before any opposing carriers can escape the area.
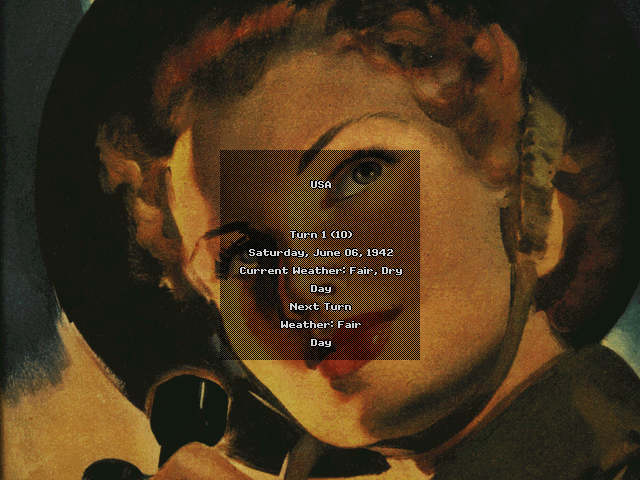
Allied Turn 1 (USA): June 6, 1942
Fair, Dry

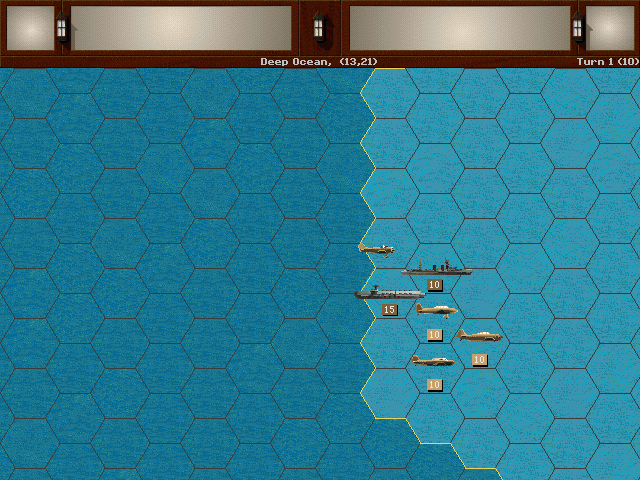
Our core ships stay grouped together. At least one ship will stay close to the Yorktown as an escort.

Patrol planes are the first to spot enemy squadrons in the air. So far no ships have been sighted.
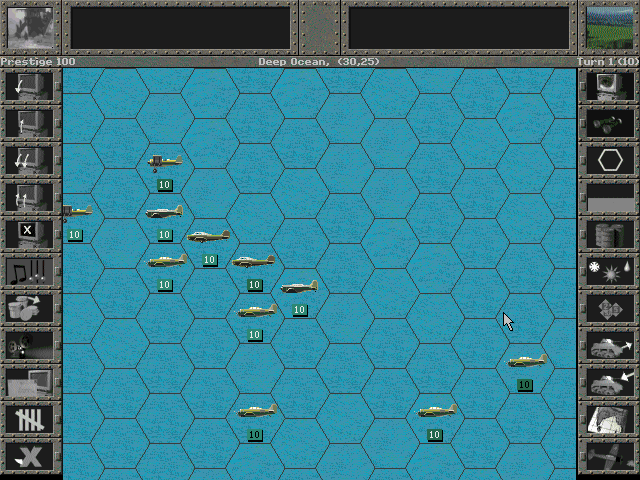
The escorts stay close to our bombers. We form a large line in the air to detect and block any advancing fighters.
Axis Turn 1 (Japan): June 6, 1942
Fair, Dry
After a short while the first enemy carrier is spotted on its way toward Midway. They don't seem to have noticed us yet.
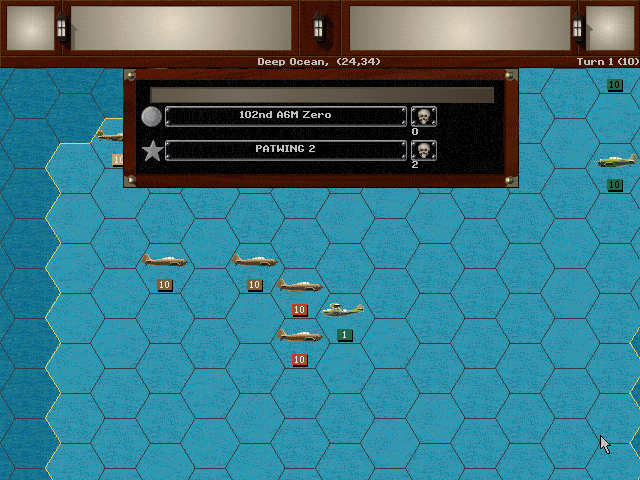
PATWING 2 is detected by enemy fighter patrols. Only a handful of planes survive.
Allied Turn 2 (USA): June 6, 1942
Fair, Dry
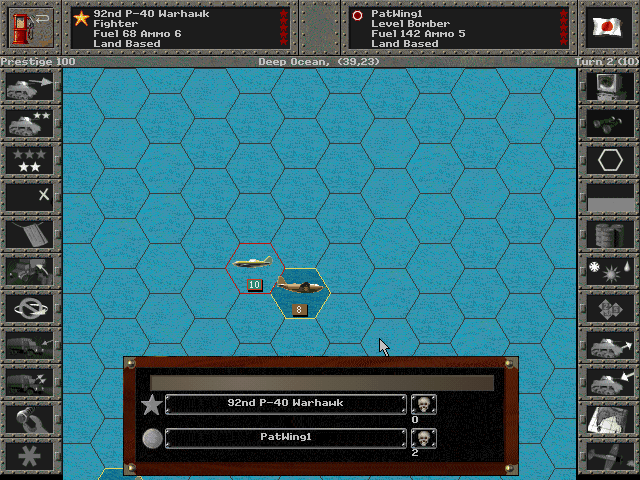
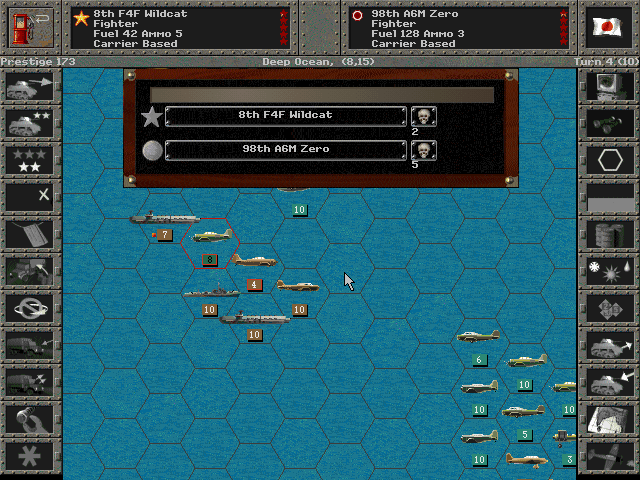
We've spotted Japanese patrol craft close to the island. They probably didn't see our ships yet. We send our land-based fighters to intercept.
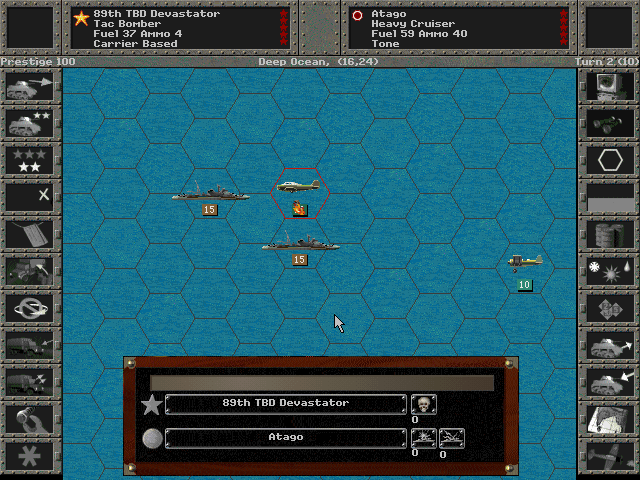
Our torpedo bombers take their first shot at the enemy cruiser Atago. No hits are scored.
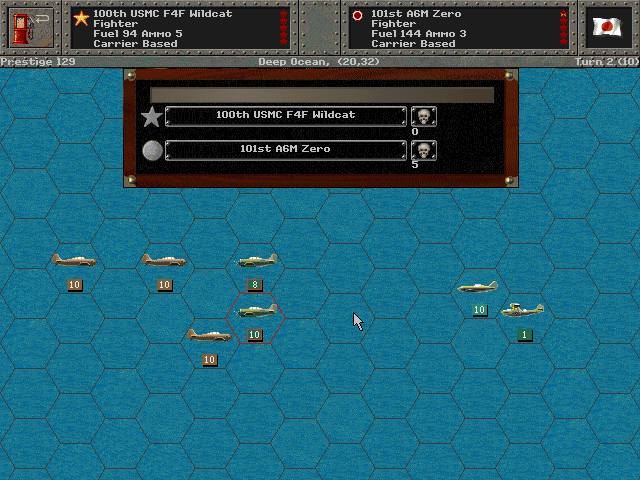
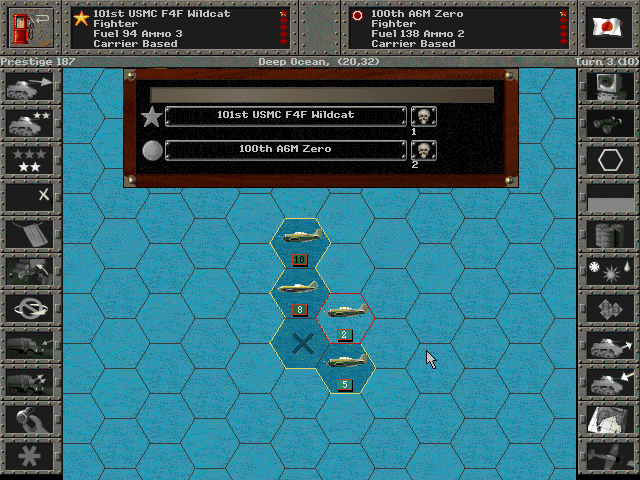
The Wildcats team up to knock out at least one squadron of Zeros, but there are many more around them.
Axis Turn 2 (Japan): June 6, 1942
Fair, Dry
The enemy carriers steam forward, seemingly oblivious of our approaching strike craft.
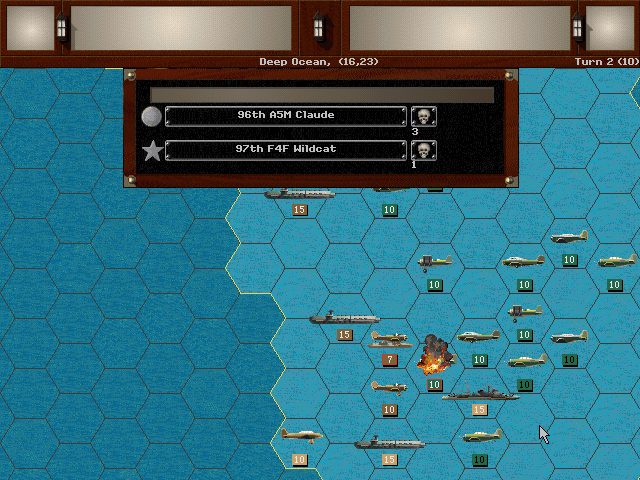
Luckily for us, not all the Japanese fighters are Zeros; the older Claudes are far less effective.
Although we do have are own outdated fighters.
The Buffalo (which these are meant to represent) is not available on the American side, though oddly enough some Allied countries have it.
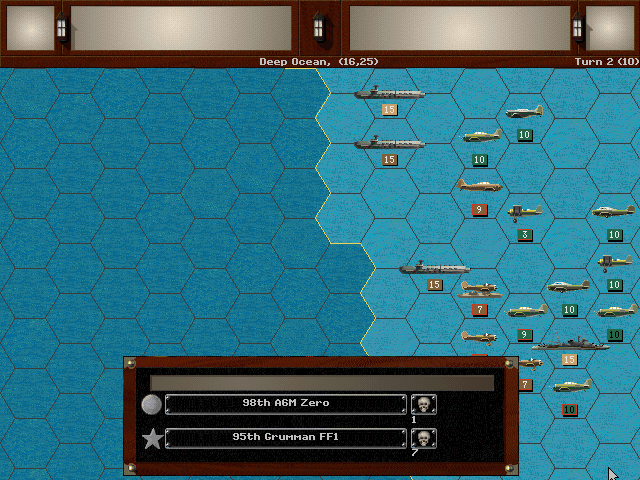
The Zeros and Wildcats trade losses, but they have us outnumbered.
Allied Turn 3 (USA): June 6, 1942
Fair, Dry
We're able to focus our fighters in other parts of the battle, mostly where the Japanese fighters seem to be searching for our ships, now that they know we're here.
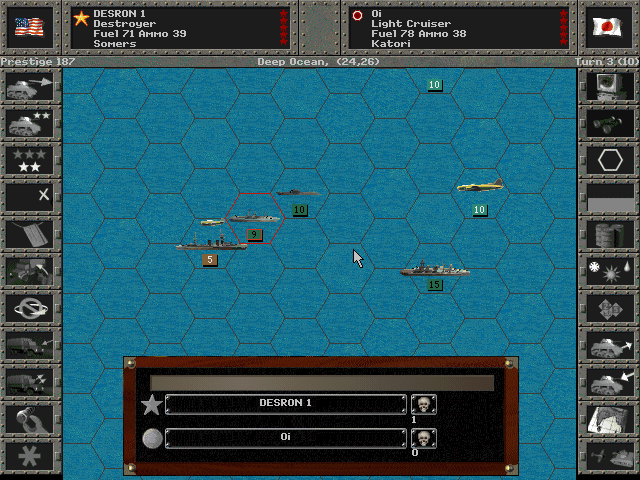
The Oi is spotted far ahead of the main carrier group. Bombers and ships engage them.
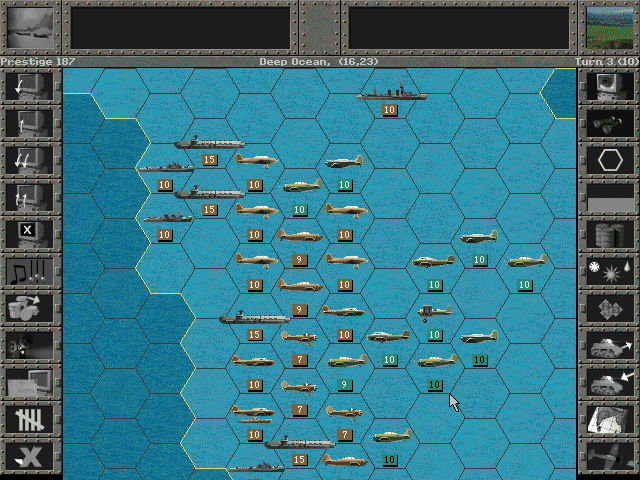
A total of four carriers have now been spotted. This really is their main strike fleet. But the skies are thick with planes. It's a real furball.

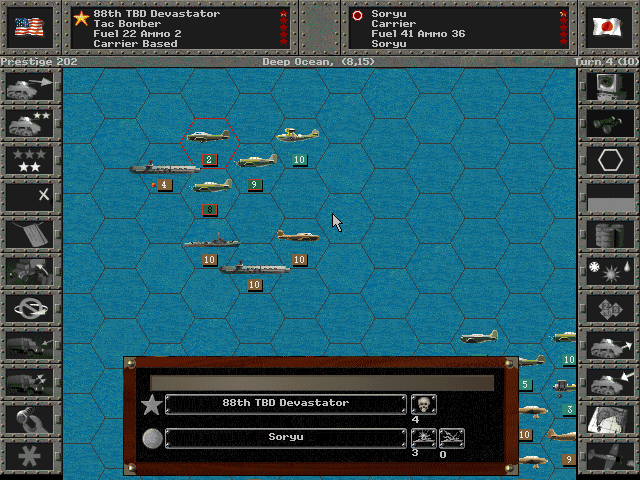
First strike is made by our dive bombers on the Soryu. Some serious damage is done to the deck, leaving the elevator inoperable.
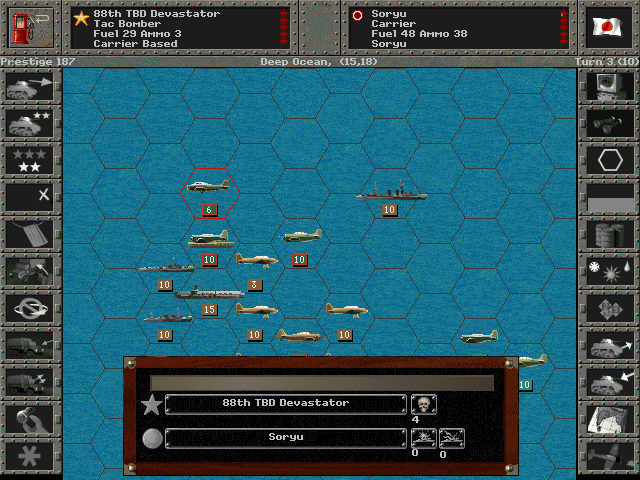
It seems the carrier is much more concerned about torpedo bombers, as their AA fire prevents any of the Devastators from getting a square shot in.

Dive bombers strike the Kaga as well, with some solid hits.
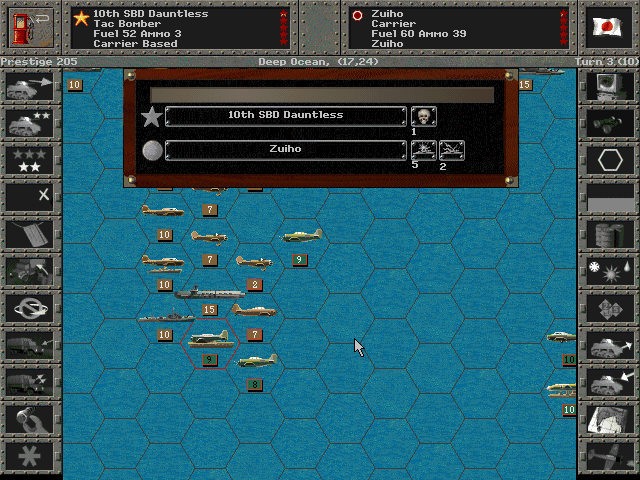
The Zuiho is heavily damaged by the deadly dive bombers. The engines appear to have taken a hit.
Axis Turn 3 (Japan): June 6, 1942
Fair, Dry

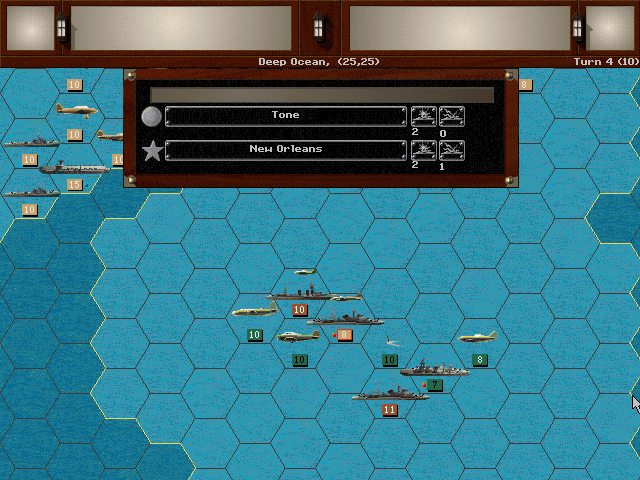
The Atago nearly destroys one of our screening units. Another cruiser, the Tone, is also in the area, but it fails to do much damage.
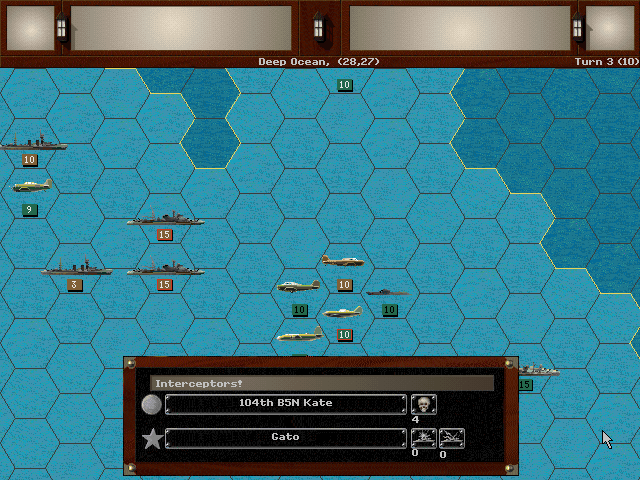
The enemy still hasn't found our carriers. Instead they try to send unescorted planes after the Gato, with predictable results once our fighters drive them off.
The Japanese are realizing that this is a trap. The carriers start to pull back before taking any further damage.
Allied Turn 4 (USA): June 6, 1942
Fair, Dry
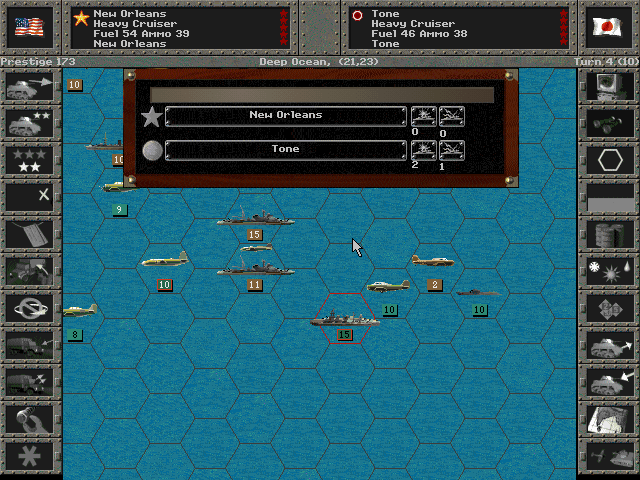
As bombers overhead disrupt the enemy's ability to fire back, the New Orleans lets loose on the Tone.
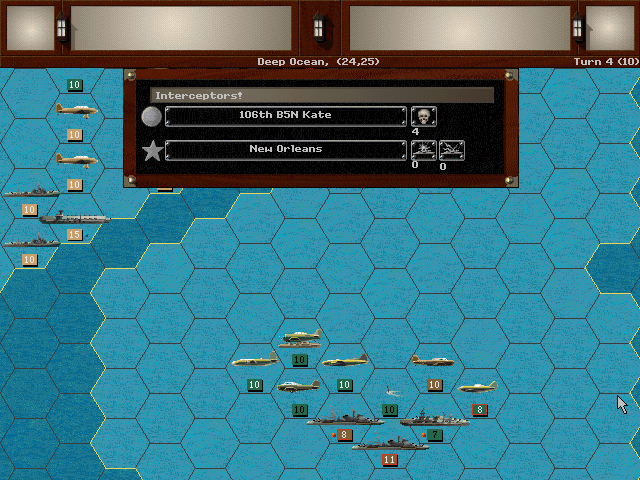
We need to eliminate the enemy fighters to allow more of our bombers to get through.
Heavy losses are being taken by the Torpedo bombers, but they do manage to score some hits.
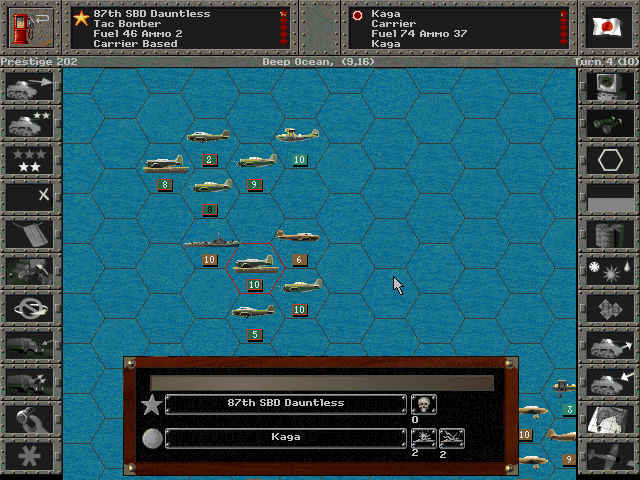
Hits on the Kaga go fairly well. There's a good chance it can be sunk before it escapes.
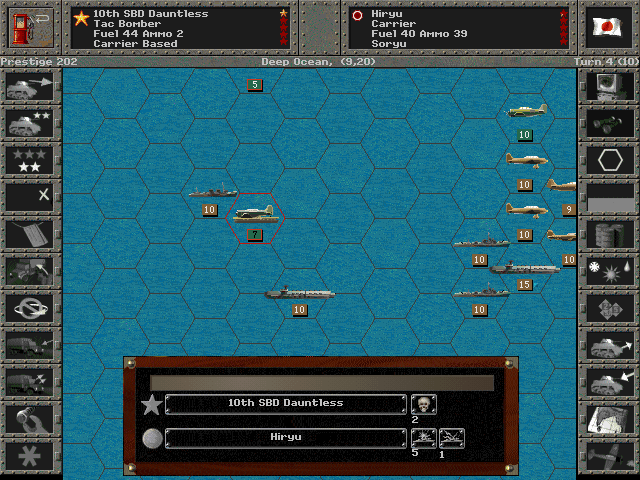
The core bombers get their first taste of combat. They risk an unescorted strike on the Hiryu. One bomb penetrates below decks and leaves a gaping hole below the waterline.
Axis Turn 4 (Japan): June 6, 1942
Fair, Dry

Enemy cruisers go after our sub, but it dives and maneuvers away before any depth charges find it.
Most of the surface fire is directed at the New Orleans.
The opposing planes haven't found our carriers, just some of the surface ships. It seems the Akagi is the only carrier left behind to send out planes after us, and they aren't able to escort the bombers well.
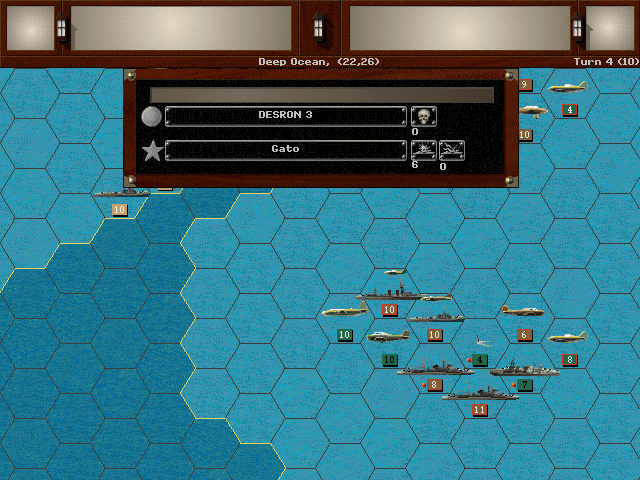
After the cruisers miss the Gato, the destroyers come hunting and deal some very serious damage. We may lose a ship here.
160-377 (Defeat)
We've managed to take the Japanese completely unawares. While our own ships have thus far been safe and the fight has been in our favor, we really need to sink some carriers if we want this battle to have any significance.
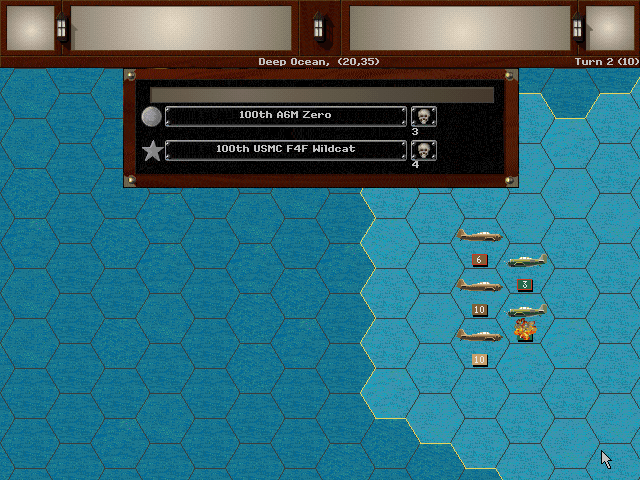
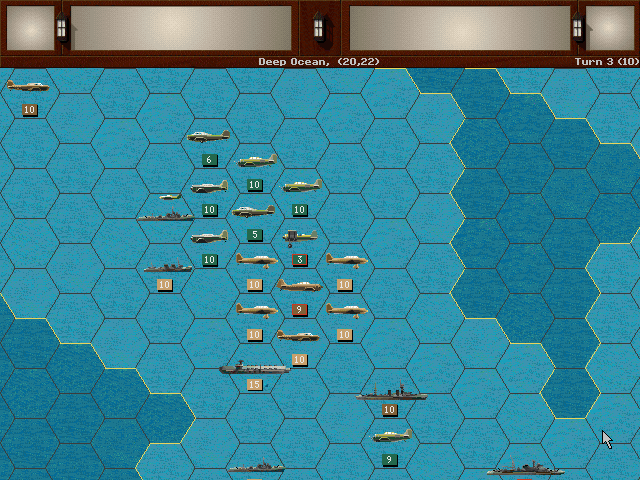
This gif shows the air units as partly shaded, since it's hard to tell what's going on with only surface units.
Unit Spotlight
The Mechanics post has been updated to discuss American naming conventions (mainly for the vehicles).
Cavalry (Not a great link, but it's fairly comprehensive on one unit.)
PG Name: Cavalry Type: Infantry
Effective Date: 7/36
Value:7 Cost:72 Spot:2 Move:5 MM:Leg Trans:Air Fuel: 60
Init:2 SA:7 HA:4 AA:[1] NA:1 GD:3 AD:10 CD:0 TT:Soft Ammo:6
By the time of World War II, horse cavalry were clearly obsolete, and this was especially true for the USA, where the automobile was taking hold thanks to a burgeoning manufacturing base. Horse cavalry were only fielded in combat very early, since there were some units in the Philippines at the time of the Japanese invasion. Later on, the 'cavalry' units were mostly fielded simply as infantry, especially in the Pacific theater, where scout cars were somewhat less useful.
In-game Analysis: On the one hand, these are cavalry that can fight as well as infantry, making them early-on a good choice for rapid advancement. On the other hand, they don't really fit well into the American forces, especially by mid-war, when there are both better recon units and stronger infantry forces.
Grumman FF-1 Fighter
PG Name: Grumman FF1 Type:Fighter
Effective Date: 1/36
Value:12 Cost:144 Spot:3 Move:9 MM:Air TT:Naval Fuel: 76
Init:5 SA:2 HA:1 AA:6 NA:1 GD:6 AD:6 Ammo:6
While a fairly advanced biplane of the early 1930s, this was definitely obsolete when war came to the US. The US Navy was no longer using them except for training purposes. The planes did see action during the 1930s when some (originally sold to Turkey) ended up in the Spanish Civil War on the Republican side. It is perhaps most notable as the first plane that Grumman provided to the American military, kicking off a very long relationship.
In-game Analysis: While this matches up acceptably with the early Japanese fighters, that isn't saying much when the war's being fought in 1941. It is cheap, but isn't going to be able to handle anything more than the weakest of enemy fighters and bombers.